
Liberating My Microsoft Laptop with Linux Mint
I finally got around to giving my old Surface Laptop 2 a second life with Linux. I went with Linux Mint Cinnamon Edition, and I’m really glad I did.
And touchscreen and my trackpad still work.
So why Mint and not something else? From everything I read, Linux Mint kept coming up as one of the best choices for people used to Windows. The layout, the workflow, the learning curve – it all felt familiar. I also checked out elementary OS which looks great too, especially if you’re moving over from macOS. But for me, Mint was the better fit.
⚠️ Quick Heads-up About Wi-Fi
My Surface already had a known issue with the built-in Wi-Fi, even before installing Mint. I spent way too much time troubleshooting it to conclude with faulty hardware on a old machine. Instead, I plugged in a wired ethernet connection during setup, which worked fine. After installation, I bought a TP-Link AC1300 Nano USB Wi-Fi adapter – it works flawlessly with Linux Mint. So yeah, I’ll be carrying a tiny USB stick for Wi-Fi from now on, and that’s fine by me.
✅ What You Need
- Surface Laptop 2 (or similar)
- 8GB or larger USB stick
- A USB-A ethernet dongle (helpful for setup)
- Optional: a USB Wi-Fi adapter for after the install
- A second computer to prepare the USB
- Some backup storage if you care about your files
🛠 Step-by-Step: How I Installed Linux Mint
1. Back Up Your Stuff
Before doing anything, back up all important files. Don’t skip this. You’ll be wiping the drive during installation unless you’re doing a dual-boot setup (I wasn’t).
2. Create a Bootable USB Using Rufus
If you’re on Windows, just download Rufus and the latest Linux Mint Cinnamon ISO from linuxmint.com. S Here’s what I did:
- Plugged in the USB
- Opened Rufus and selected:
- ISO file
- GPT partition scheme
- FAT32 file system
- Clicked Start
Straightforward, and within minutes you have a bootable USB stick and installaton medium.
3. Boot from USB
- Shut down the Surface Laptop
- Hold the ** Fn key + Volume Down + Power** until you see the Surface logo
- It boots into the GRUB screen – select the first option: “Start Linux Mint”
Give it a moment and you’ll be in the live desktop.
4. Install Linux Mint
Double-click “Install Linux Mint” on the top left of the desktop and go through the steps.
You’ve got a couple of choices here:
Option A: Clean Install (Easy)
Let Mint erase the disk and handle everything for you. Fast and simple.
Option B: Manual Partitioning (What I Did)
Here’s what worked for me:
/(root): 30–50 GB, ext4swap: 4 GB or the same as your RAM/home: all the rest
This setup keeps your system files separate from your personal data, so if you ever reinstall Mint, your files stay untouched.
5. Update the System
Once Mint is installed and you’re rebooted:
sudo apt update && sudo apt upgrade -y
6. Install the Surface Linux Kernel
To get better hardware support (like keyboard, touchscreen, battery, etc), install the custom Surface kernel.
First you need to import the keys we use to sign packages.
wget -qO - https://raw.githubusercontent.com/linux-surface/linux-surface/master/pkg/keys/surface.asc \
    | gpg --dearmor | sudo dd of=/etc/apt/trusted.gpg.d/linux-surface.gpg
After this you can add the repository configuration and update APT.
echo "deb [arch=amd64] https://pkg.surfacelinux.com/debian release main" \
	| sudo tee /etc/apt/sources.list.d/linux-surface.list
sudo apt update
Then you can install the linux-surface kernel and its dependencies.
sudo apt install linux-image-surface linux-headers-surface libwacom-surface iptsd
You can find full instructions here:
👉 https://github.com/linux-surface/installation(ubuntu)
🖼 A Look at the Mint Desktop
Here’s what Mint looks like right after install. Super clean, super familiar.
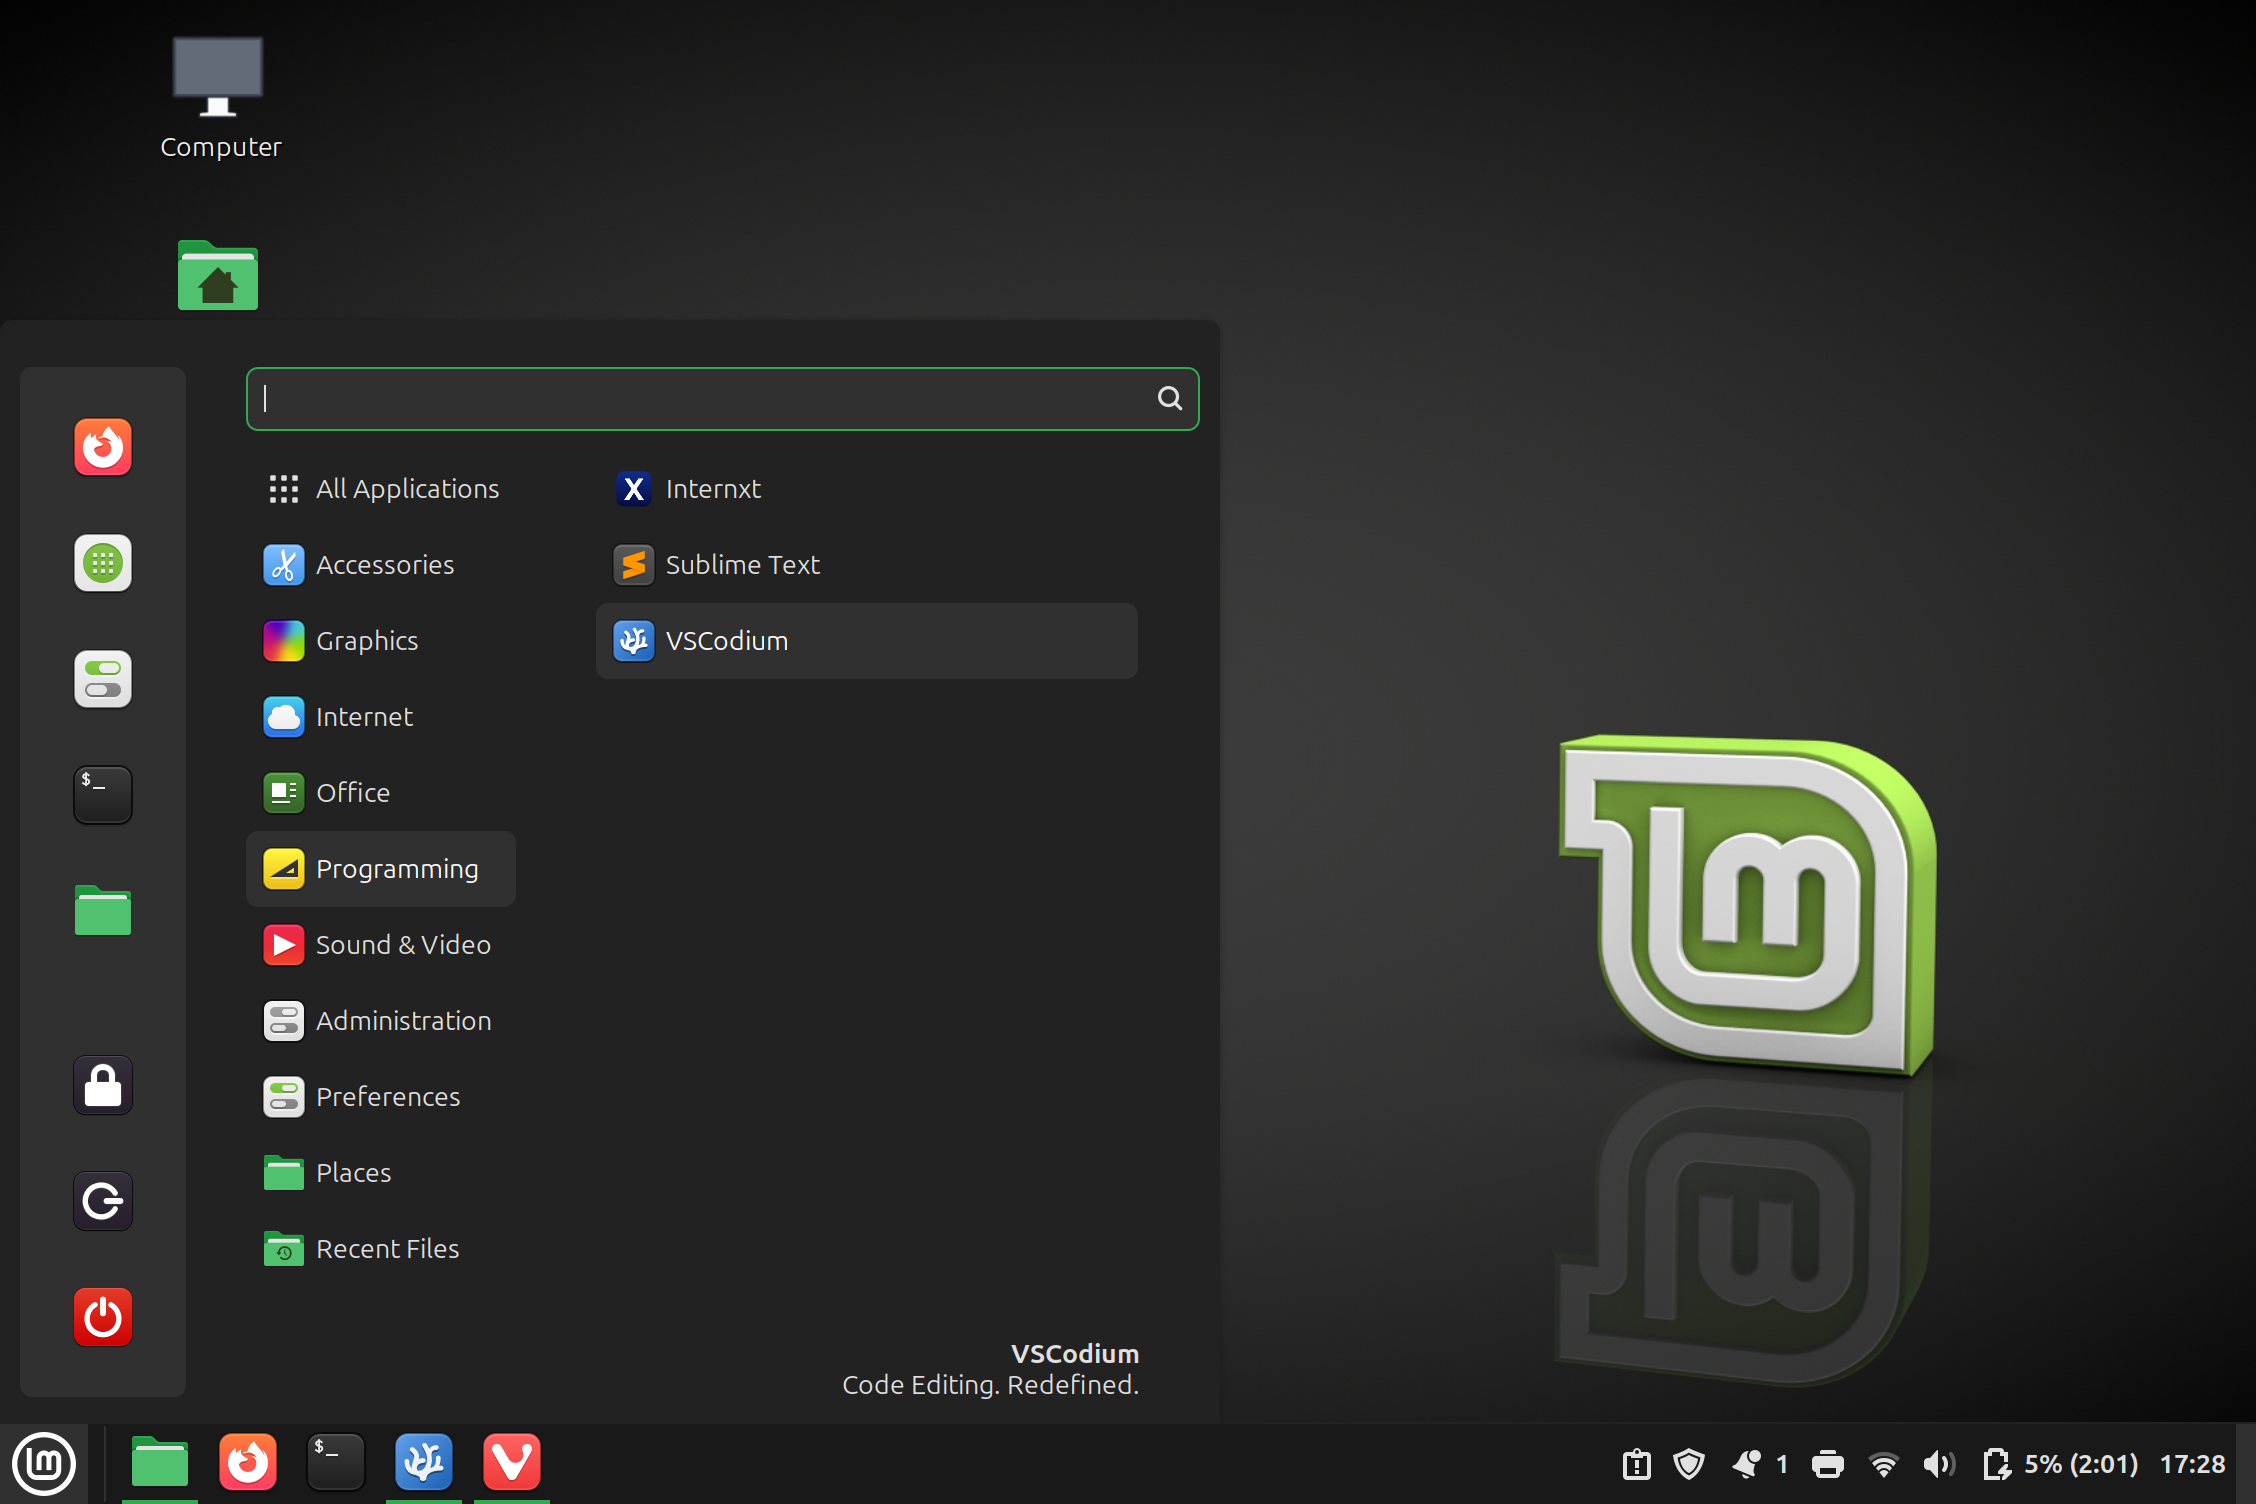
Feels like a better version of Windows 10, but without the bloat and noise.
💡 Bonus Tips and Good-to-Knows
1. Use VSCodium Instead of Visual Studio Code
If you like VS Code but are looking for an FOSs alternative, I recommend VSCodium, which is the same thing – just without Microsoft’s telemetry and branding.
Install it with:
sudo apt install codium
2. Great Built-in Apps
Mint comes preinstalled with a bunch of solid apps, so you don’t need to hunt down replacements right away.
| App | Replaces… | Notes |
|---|---|---|
| LibreOffice | Microsoft Office | Fully offline suite, works great |
| Timeshift | System Restore | Easy snapshots and rollback points |
| Warpinator | Nearby sharing | Like AirDrop for Linux |
| GIMP | Photoshop/Paint.NET | Full image editor, very capable |
| Pix | Windows Photo Viewer | Fast and simple photo viewer |
3. Better Performance Than Windows 11
almost instantly Surface Laptop 2 runs noticeably faster - and quieter. The fan isn’t blaring at odd moments. Did a quickover compare:
| Metric | Windows 11 | Linux Mint |
|---|---|---|
| Idle RAM usage | ~3 GB | ~800 MB |
| Disk usage (fresh) | ~35 GB | ~10 GB |
| Boot time | 30–40 seconds | 10–15 seconds |
| Background services | 60+ | Less than 20 |
Mint is lighter, leaner, and and the battery lasts longer too.
Final Thoughts
Switching to Linux Mint gave my Surface a whole new life. It runs cooler, smoother, and without all the bloat and surveillance. The only real compromise was needing a USB Wi-Fi adapter – which honestly isn’t a big deal.
If you’re thinking about trying Linux on your Surface, Mint is a great place to start. It’s clean, fast, and respects your time. No regrets here.
Let me know if you run into issues or want help – always happy to share what I’ve learned.