Breathing New Life Into MacBook Airs
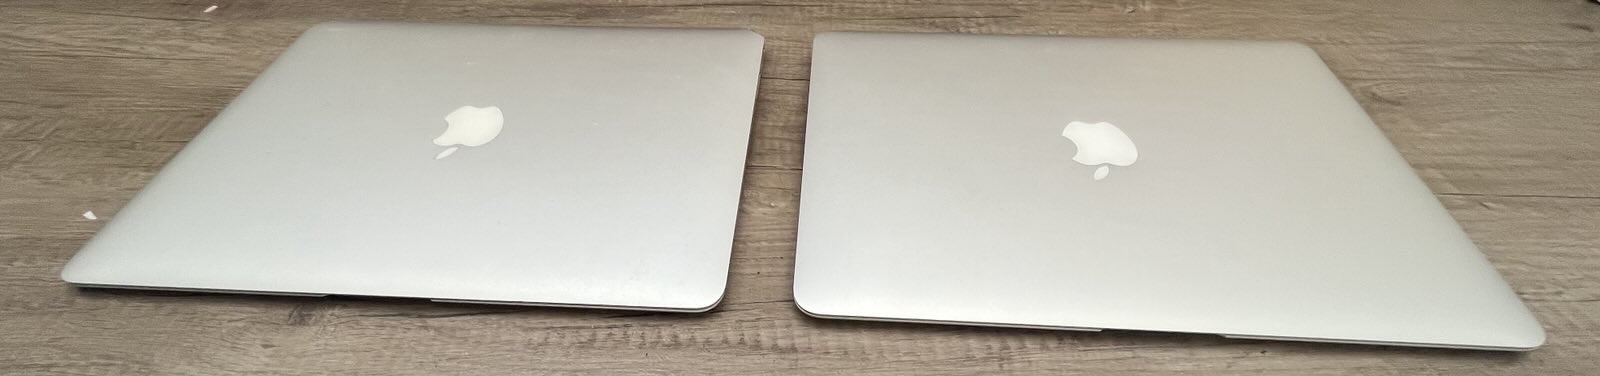
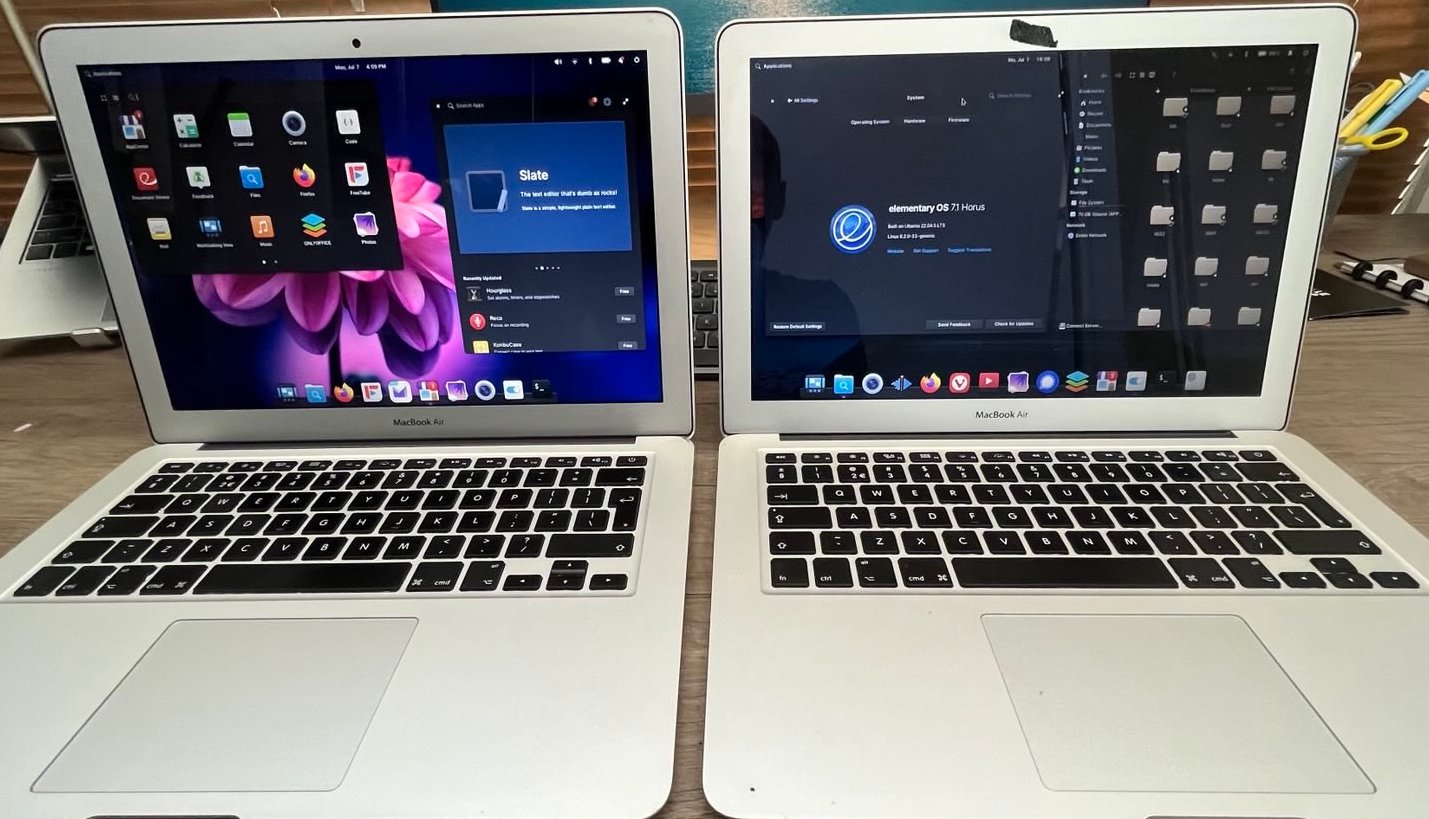
This is a personal guide based on my experience installing and configuring elementary OS on two aging MacBook Airs. One is from 2013 with just 4 GB RAM. The other is from 2015 with 8 GB . Both now run astonioshingly well after some careful prep, partitioning, and and post-install driver fixes.
If you’ve got an old MacBook Air lying around—or you’re just curious about running Linux on Apple hardware—this guide is for you.
1. Download Elementary OS
With so many Linux distros out there, I chose elementary OS because it’s one of the closest I’ve found to the macOS experience. The interface is clean, elegant, and feels familiar—perfect for breathing new life into an old MacBook Air without overwhelming you with unnecessary clutter or complexity.
Go to elementary.io and download the ISO.
I chose elementary OS 7.1 (Horus) for stability and compatibility with older machines. I could find it directly on the main website but its still available of the very handy and trustworthy Internet Archive site. https://archive.org/details/elementaryos-7.1-stable.20230926rc_202401. Download the ISO image
The latest version may also work, but check your hardware first.
2. Create a Bootable USB (with Persistence)
If you’re new to Linux, a bootable USB is just a USB stick that acts like a temporary operating system. You plug it in, reboot your computer, and it runs Linux directly from the stick—without touching your current files or OS. It’s great for testing.
For a basic test drive, a Live USB (non-persistent) is enough. But if you want to change system settings, install apps, or save files between reboots, go for a persistent setup instead. Aim for a USB stick of at least 8GB.
You can do this on Linux or Windows.
On Linux:
- Use
mkusbfor a persistent USB:- Install it with:
sudo add-apt-repository universe
sudo add-apt-repository ppa:mkusb/ppa
sudo apt update
sudo apt install mkusb mkusb-nox usb-pack-efi
- Install it with:
- Then launch
mkusband follow the steps to burn the ISO with persistence. After installing mkusb, open a terminal and run:sudo mkusb
You’ll be guided through a series of menus. Here’s what to expect and what to choose:
Select: dus (Do USB Stuff)
This is the main tool you want.

Choose the Persistent live option

Navigate to where you downloaded the elementaryOS ISO file and select it

Choose the target USB drive
Be careful here.
Make sure you select the correct USB stick! You can identify it by its size.
Double-check to avoid wiping another drive.

Persistence size
You’ll be asked how much of the USB space you want to allocate to persistence (saving changes, files, and apps).
For example:
On a 8GB USB, you might assign 4GB to persistence.
The rest is used for the boot system.

Confirm and write
The final step is to confirm all settings and allow mkusb to write the image. It will format the drive and create the persistent system.
On Windows:
- Use Rufus:
- Select the ISO
- Set partition type to GPT (for UEFI)
- Choose persistent storage if available (not all ISOs support it)
- Format as FAT32
3. Test First: Try Live or Persistent Mode
Before installing:
Boot from the USB stick.
Choose Try Elementary OS or persistent live mode from the GRUB (Bootloader screen)
Check:
- WiFi: does it detect and connect?
- Camera: go to the app center and select the camera app provided
If WiFi or camera doesn’t work, this guide will walk you through the fixes.
If theres no WiFi you might want connect via Ethernet or use a USB WiFi dongle if possible.
4. Choose Install Method: Erase vs Dual Boot
You have two options:
Option A: Erase the Disk
- This wipes macOS completely.
- Safe and clean option if you don’t need macOS anymore.
Option B: Dual Boot (Keep macOS)
Partitioning Carefully: Keeping macOS and Installing Elementary OS
If you’re planning to dual boot macOS and elementary OS, the safest route is to prepare the disk from within macOS first. This ensures your existing installation remains intact and helps avoid issues with bootloaders or overlapping partitions.
The goal here is to:
- Keep macOS untouched and bootable
- Leave enough free space for installing elementary OS
- Ensure there’s a healthy EFI System Partition (ESP) — at least 512MB
Recommended: Resize macOS Safely from macOS
Step 1: Boot into macOS
Log into macOS as usual.
Step 2: Open Disk Utility
- Launch Disk Utility (
Cmd + Space, type “Disk Utility”) - From the menu bar, select View → Show All Devices
- This will display the physical drive, the APFS container, and any partitions
Step 3: Select the APFS container
- Click on the APFS container (not the individual volume like “Macintosh HD”)
- This is important — resizing the container adjusts the actual disk space usage
Step 4: Shrink the macOS container
- Click Partition or Resize (depending on your macOS version)
- Leave enough room for Linux. For example:
- If your disk is 250GB, you might shrink macOS to around 130GB
- Leave at least 100GB unallocated for elementary OS
Step 5: Leave EFI and padding space
Before installing Linux, check your disk layout:
- The EFI partition should be present and at least 512MB
- There should be at least 400MB of unallocated space before the macOS partition
- This helps the elementary OS installer add boot entries correctly
You can check this layout using:
diskutil list
5. Install Elementary OS
Now that you’ve prepared the partition space, it’s time to install elementary OS.
Step 1: Boot from the USB stick
Insert the USB stick and reboot your Mac. Hold down the Option (⌥) key immediately after powering on. You’ll see the boot menu.
- Select the EFI Boot option (this is your USB stick)
- Choose Install elementary OS from the menu
Step 2: Choose Your Installation Mode
You’ll be guided through a few setup screens:
- Language and keyboard layout
- Network setup (you can skip if WiFi doesn’t work yet)
- Updates and third-party software
Enable “Install third-party software for graphics and Wi-Fi hardware and additional media formats” — this may help with some drivers.
Step 3: Disk Setup — This part is important
You’ll be asked how you want to partition the disk.
You have two main options:
Option A: Erase Disk and Install
- This wipes everything — macOS included
- Choose this only if you want a clean slate
- Recommended only if you’re not dual booting
Option B: Custom Install (Manual Partitioning)
- Recommended if you’re keeping macOS
- Select “Custom install (Advanced)”
Once inside the partitioning screen:
Identify the free space you created earlier from macOS (it will show as “free space” or “unallocated”)
Create the following partitions:
- Root (
/)- Type:
ext4 - Mount point:
/ - Size: At least 30–50GB
- Type:
- Swap (optional, especially useful on 8GB RAM machines)
- Type:
swap - Size: 2–4GB
- Type:
- Root (
Note: You don’t need to touch the EFI partition if its allocated with around 500MB — elementary OS will detect and reuse it for bootloader entries.
Step 4: Final Setup
After partitioning:
- Choose your timezone
- Create your user account and password
- Review everything one last time and confirm
The installer will now run. When done, remove the USB stick when prompted and reboot.
If you’re dual booting with macOS, holding Option (⌥) during startup will let you choose which OS to boot.
6. Fixing Broadcom WiFi on Older MacBooks
If you’re using an older MacBook Air or Pro, it’s likely that your WiFi card is from Broadcom, and it might not work out of the box with Elementary OS. Here’s how to fix it:
Step 1: Open Terminal
Once you’re logged into the installed system (ideally with an Ethernet connection or USB WiFi dongle), run:
sudo apt update
sudo apt install bcmwl-kernel-source
This command installs the Broadcom Wireless driver that supports many legacy Apple devices.
Step 2: Load the Driver
After installing, run:
sudo modprobe wl
This tells the system to load the new driver immediately without rebooting.
Step 3: Reboot
Restart your computer:
sudo reboot
Once you’re back in, you should see available WiFi networks in the top-right network menu. If not, double-check your internet connection during installation, or repeat the steps above.
7. Fixing the Built-in FaceTimeHD Camera
Apple uses a proprietary camera in many MacBooks that isn’t supported by default in Linux. The good news: a community-developed driver exists, and it works well once installed.
We’ll be installing two things:
- The camera driver (so Linux knows how to talk to the camera hardware).
- The firmware (proprietary files required for the camera to function, retrieved via a legal open-source extractor).
Note: This process assumes you’re using the 6.2 kernel. If you’re on a newer kernel (like 6.8), the driver might need to be rebuilt later.
Step 1: Install Required Packages
These tools help us build (compile) the driver and firmware from source code.
sudo apt install git curl cmake libusb-1.0-0-dev libdrm-dev libpciaccess-dev libglfw3-dev libjpeg-dev checkinstall
Step 2: Clone and Build the Driver
This step downloads the open-source FaceTimeHD driver and compiles it for your system.
git clone https://github.com/patjak/bcwc_pcie.git
cd bcwc_pcie
make
sudo make install
sudo depmod -a
makecompiles the code.depmodupdates kernel module dependencies.
Step 3: Download and Install the Firmware
Even with the driver installed, your camera won’t work without the firmware (tiny programs stored inside devices). We legally extract these from Apple’s firmware using a free tool.
git clone https://github.com/patjak/facetimehd-firmware.git
cd facetimehd-firmware
make
sudo make install
This will download, extract, and install the needed files into the correct system location.
Step 4: Reboot and Test
Restart your computer:
sudo reboot
Once back, test your camera with:
If you see yourself on screen, it worked!
8. Lock to Kernel 6.2 (Optional but Recommended)
I found that everything (WiFi + camera) works reliably on kernel 6.2.0-33-generic. If a newer kernel breaks drivers, you can lock and stick to to this 6.2 kernel so that its not automatically updated:
sudo apt-mark hold linux-image-6.2.0-33-generic
sudo apt-mark hold linux-headers-6.2.0-33-generic
To make sure the system always boots into this kernel:
- Edit GRUB:
sudo nano /etc/default/grub
- Set:
GRUB_DEFAULT="Advanced options for elementary OS>elementary OS, with Linux 6.2.0-33-generic"
- Update GRUB:
sudo update-grub
9. Final Cleanup and Update
Run:
sudo apt update && sudo apt upgrade
Extra Tip: Avoid Updating the Built-In Camera App via Flatpak
After a system update or Flatpak refresh, the Camera app that was working perfectly suddenly failed to detect the FaceTimeHD drivers. Rolling back fixed it — but it’s better to prevent this from happening in the first place.
✅ How to Freeze the Camera App Version
elementary’s Camera app is distributed as a Flatpak, so you can mask it to stop it from receiving updates.
First, find the exact ID of the camera app:
flatpak listLook for something like
io.elementary.camera.Then, mask it to freeze its version:
flatpak mask io.elementary.Camera
That’s it — the app will now stay at its current working version during future system or Flatpak updates.
If in the future you want to allow updates again:
flatpak mask --remove io.elementary.Camera